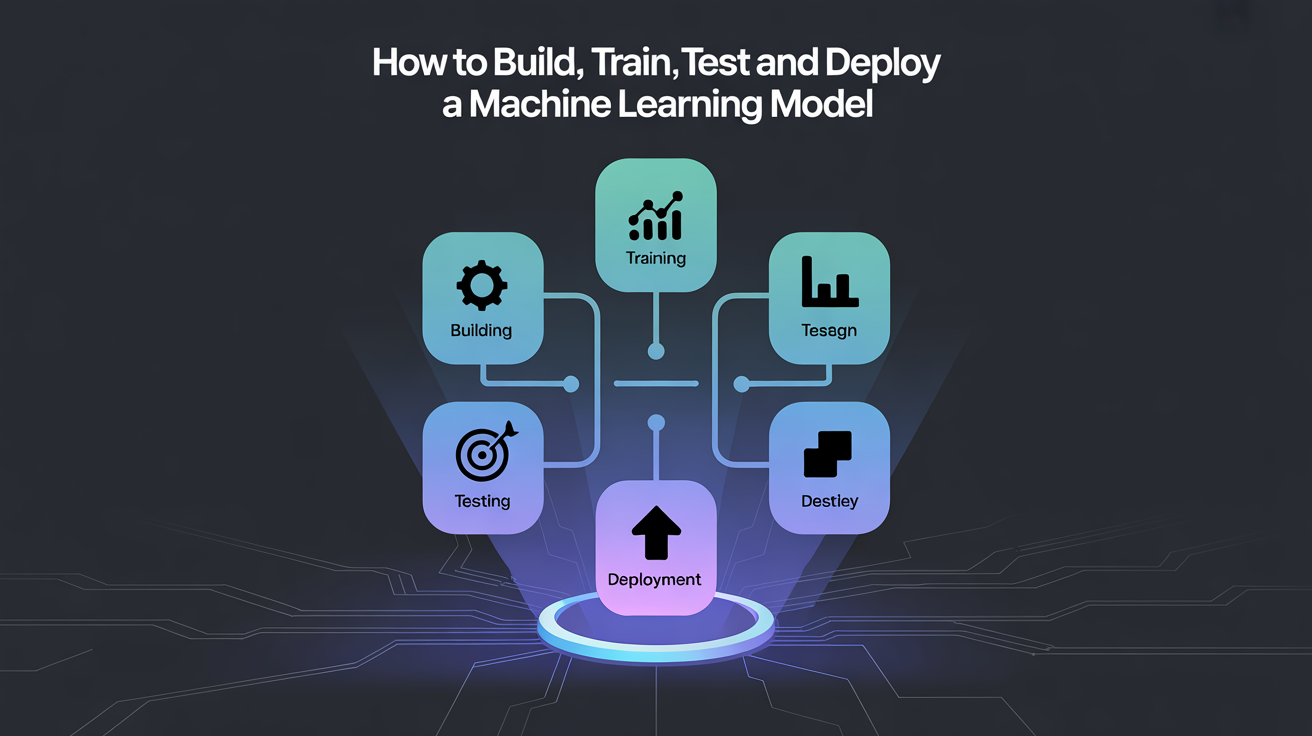
In today’s digital world, machine learning (ML) is transforming everything from the way we shop online to how doctors diagnose diseases. But what exactly goes into building an ML model? It’s not just about writing code—it’s about solving real-world problems using data.
Whether you’re a student, a beginner, or someone exploring the possibilities of artificial intelligence, this article will walk you through the step-by-step journey of building, training, testing, and deploying a machine learning model. To make things more practical, we’ll also explore a real-world example, predicting house prices.
Step 1: Understanding the Problem
Every ML project starts with a problem. Ask yourself:
- What are we trying to predict or classify?
- Is it a classification (e.g., spam vs. non-spam) or a regression (e.g., predicting a price)?
- What value will this bring to users or the business?
Example: Let’s say you’re working for a real estate company. Your task is to build a model that predicts house prices based on features like size, location, number of rooms, etc. This is a regression problem.
Step 2: Collecting and Preparing the Data
Data is the fuel of machine learning.
Collecting Data:
You can gather data from:
- Company databases
- Web scraping
- Public datasets (e.g., Kaggle, UCI Machine Learning Repository)
Cleaning the Data:
This step involves:
- Handling missing values
- Removing duplicates
- Fixing data types (e.g., converting string prices to float)
Feature Engineering:
Transform raw data into useful features. For example:
- Convert “built year” into “age of the house”
- One-hot encode categorical values like “location”
Example Continued: For predicting house prices, you’ll gather data like square footage, number of bedrooms, distance to city center, and neighborhood quality. Clean it, and then create features that better capture the influence on price.
Step 3: Splitting the Data
Never test a model on the same data you train it on.
Train-Test Split:
Divide the data, usually like this:
- 70% for training
- 30% for testing
Validation Set:
Sometimes, you split it further into:
- 60% training
- 20% validation
- 20% testing
This helps tune the model’s parameters without overfitting.
Step 4: Choosing a Model
There’s no one-size-fits-all. You need to pick the right algorithm for your problem.
Common Models:
- Linear Regression: For simple regression problems
- Decision Trees: Intuitive and interpretable
- Random Forests: Great for complex, nonlinear data
- XGBoost: Often wins ML competitions
- Neural Networks: Best for deep learning tasks (like image or speech recognition)
Example: For house price prediction, you might start with Linear Regression for simplicity, and later switch to Random Forests if you want better accuracy.
Step 5: Training the Model
This is where the machine starts learning from data.
How it works:
- The model learns the relationship between inputs (features) and outputs (labels).
- You define a loss function (e.g., Mean Squared Error).
- The model adjusts its parameters to minimize that loss.
Tools and Libraries:
- Python is the go-to language.
- Use libraries like scikit-learn, TensorFlow, or PyTorch.
from sklearn.linear_model import LinearRegression

model = LinearRegression()
model.fit(X_train, y_train)
Step 6: Testing and Evaluation
Once trained, evaluate the model’s performance on unseen data.
Key Metrics:
- For regression:
- MAE (Mean Absolute Error)
- MSE (Mean Squared Error)
- R² Score (How well the model explains variance)
- For classification:
- Accuracy
- Precision, Recall
- F1 Score
from sklearn.metrics import mean_squared_error, r2_score

predictions = model.predict(X_test)
print("MSE:", mean_squared_error(y_test, predictions))
print("R2 Score:", r2_score(y_test, predictions))
If the model performs poorly, revisit the steps:
- Is the data clean?
- Are the features meaningful?
- Is the model too simple or too complex?
Step 7: Model Tuning and Optimization
Even if your model is decent, you can often make it better.
Techniques:
- Hyperparameter tuning: Use GridSearchCV or RandomizedSearchCV
- Cross-validation: Validate on multiple folds to get robust results
- Feature selection: Remove irrelevant features to reduce noise
Example: In our house price model, tweaking the number of trees in a Random Forest or the depth of a decision tree can significantly impact accuracy.
Step 8: Deployment
Building a model is great, but it becomes valuable only when deployed into a system users can interact with.
Deployment Methods:
- As a REST API (using Flask, FastAPI)
- Integrated in a web or mobile app
- On cloud platforms (AWS, Azure, Google Cloud, Hugging Face)
Deployment Checklist:
- Save the model using
jobliborpickle - Build an API endpoint to accept user input and return predictions
- Monitor the model for performance over time
import joblib
joblib.dump(model, 'house_price_model.pkl')
You can then create a Flask API:
from flask import Flask, request, jsonify
import joblib

app = Flask(__name__)
model = joblib.load('house_price_model.pkl')

@app.route('/predict', methods=['POST'])
def predict():
    data = request.json
    prediction = model.predict([list(data.values())])
    return jsonify({'predicted_price': prediction[0]})
Real-World Application Example: Zillow

Zillow, a leading real estate marketplace, uses machine learning models like “Zestimate” to predict home prices across the U.S. They consider hundreds of features, property history, market trends, neighborhood ratings, to provide accurate and real-time price estimates.
Their models impact decisions worth billions of dollars. That’s the power of well-built ML systems.
Final Thoughts
Building a machine learning model is a journey that combines technical skill with creative problem-solving. It’s not just about the algorithm, it’s about the impact. When you develop a model that helps a company predict sales, detect fraud, or diagnose a disease faster, you’re not just coding, you’re changing lives.
So start small, keep experimenting, and stay curious. Your next project could be the spark for something big.